| |
|
|
|
|
|
|
|
|
|
|
|
|
|
|
|
Lowering
Torsion Rear Supension |
|
|
|
|
|
|
|
|
|
|
|
|
|
|
|
|
|
|
First of all
a warning and a disclaimer. This is how we adjust the back suspension on
our Citroen Saxo Kit Car, whilst the basic principle is the same as a standard
road car there may be some minor differences. As such it is not intended
as a 'how to guide' to enable you to modify your own car but for information
only on how we modify our car. If you choose to use this information to
modify your road car, good luck but don't hold me responsible if it all
goes wrong and your car is damaged, you injure yourself, innocent third
parties or their property. |
|
|
|
|
|
|
|
|
|
|
|
|
|
|
|
All of the images are
Thumbnails and clicking on the will download a full size image. Even so
it may take a while to download all of the thiumbnails, especially on a
dial up connection. |
|
|
|
|
|
|
|
|
|
|
|
|
|
|
|
|
 |
|
|
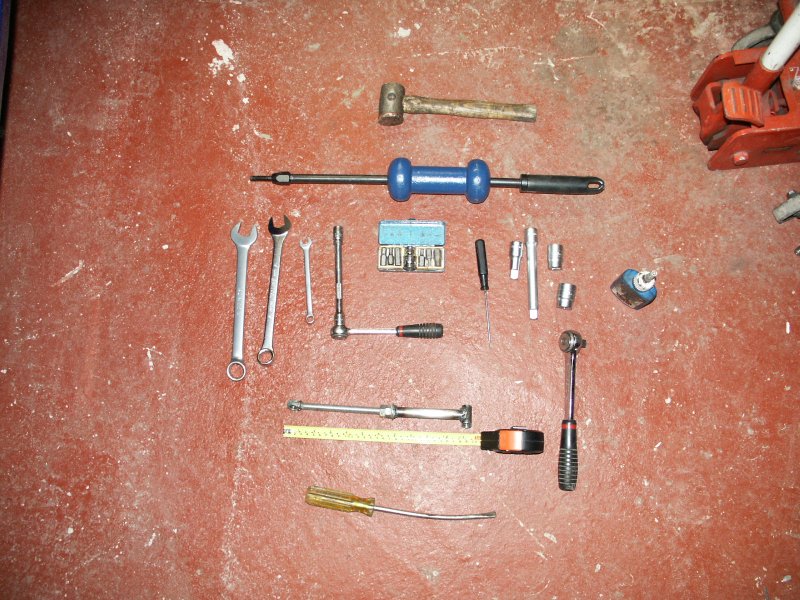
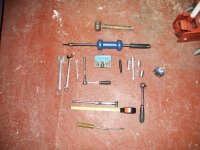
The tools required:
- Slide hammer with 8 mm bolt attachement.
- Ratchet sockets and spannersto remove shock
absorber.
- Hex head sockets (or Torx bits and 13mm socket
for a standard car) to remove anti-roll bar plate and torsion bar end
plate.
- Dummy shock absorber ( you can manage without
this).
- Tape Measure ( but not without this if you want
the car level).
- A Hammer
|
|
|
|
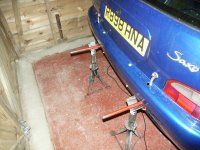
Before starting make sure
that the car is securely supported on axle stands, butdon't put them under
the suspension arms as they will be in the way in a moment. Our car has
tubes welded into the rear chassis rail that accept steel rods to make the
job easier. |
|
 |
|
|
|
|
|
|
|
|
|
|
|
|
|
|
|
|
 |
|
|
Remove the rubber bung
from the end of the anti-roll bar plate. On our car this is a metal bolt
but standard cars have a rubber bung that is SCREWED into the same place.
You will need an Allen key to unscrew it, don't just lever it out with a
screwdriver as it won't seal properly when you put it back and water will
get in. |
|
|
|
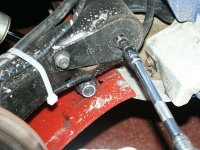
Next remove the bolt that
holds the anti-roll bar plate to the suspension arm. We use hex head bolts
but the standard car is a normal 13mm bolt. |
|
 |
|
|
|
 |
|
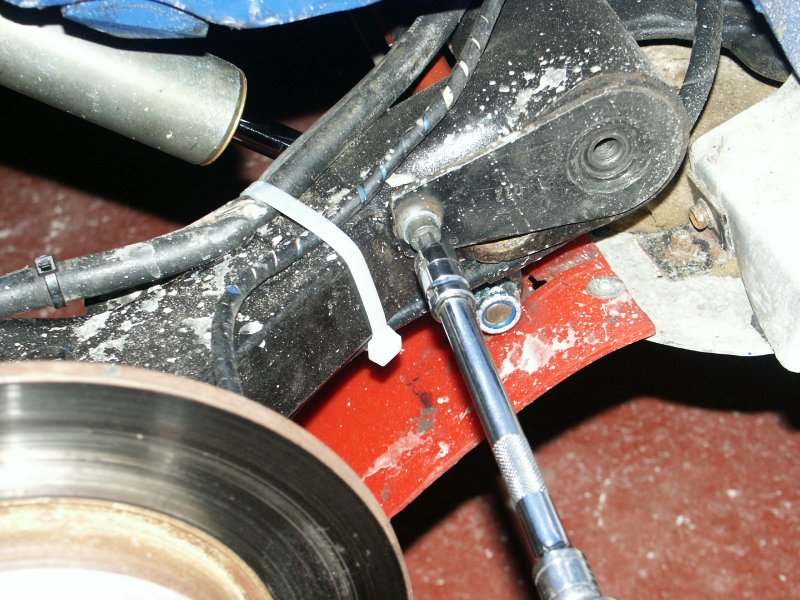
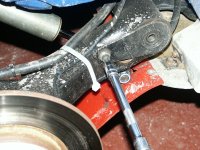
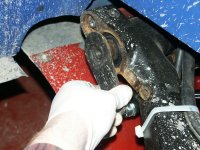
We use a slide hammer with
an 8mm bolt on the end and hammer the anti-roll bar out but some screw a
12mm (I think) bolt into the endplate and push the anti roll bar out the
other end. You do need to remove the plate on this side to get at the torsion
bar underneath. Given that you need the slide hammer and 8mm bolt to remove
the torsion bars we use this as it's already out of the tool box. |
|
|
|
The anti roll bar usually
comes out easily and we remove it completely so that it doesn't get in the
way. |
|
 |
|
|
|
 |
We also remove the plate
from the opposite side mainly because we find it makes putting it all back
together easier. |
|
|
|
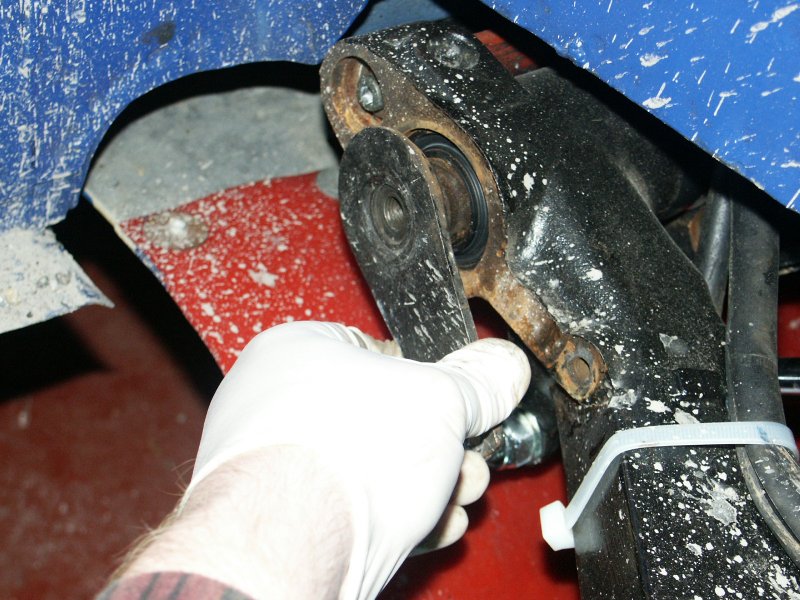
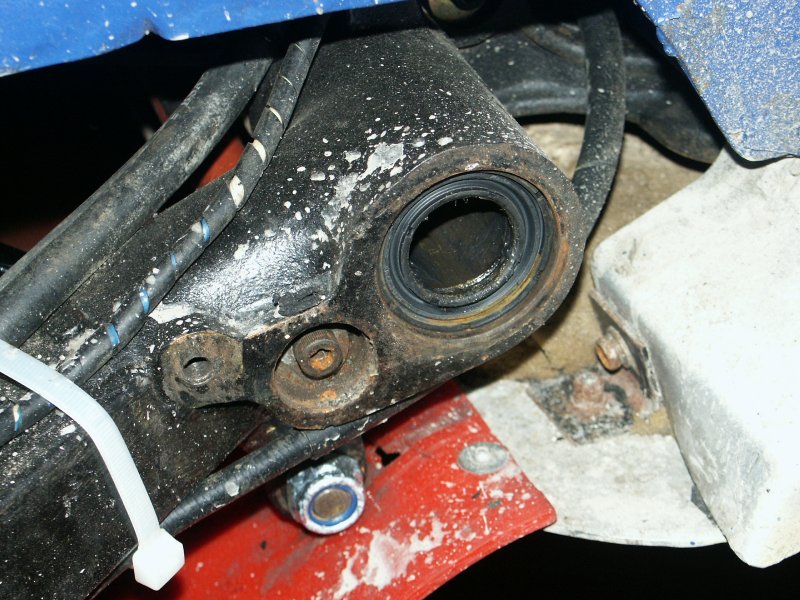
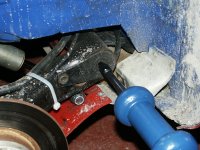
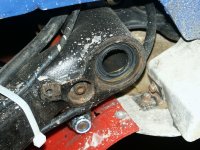
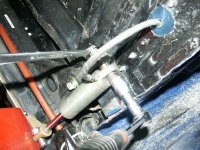
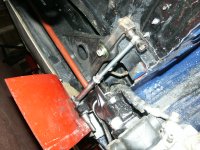
This is the view after
the anti roll bar and it's end plate have been removed. Check the condition
of the seal in the middle and replace it if it's damaged in any way. They
only cost a few £ from Citroen and are essential in keeping water
and dirt out of the rear arm bearings. If these are damaged and water gets
in it can result in the bearing seizing and damaging the rear beam resulting
in a very big bill. |
|
 |
|
|
|
 |
|
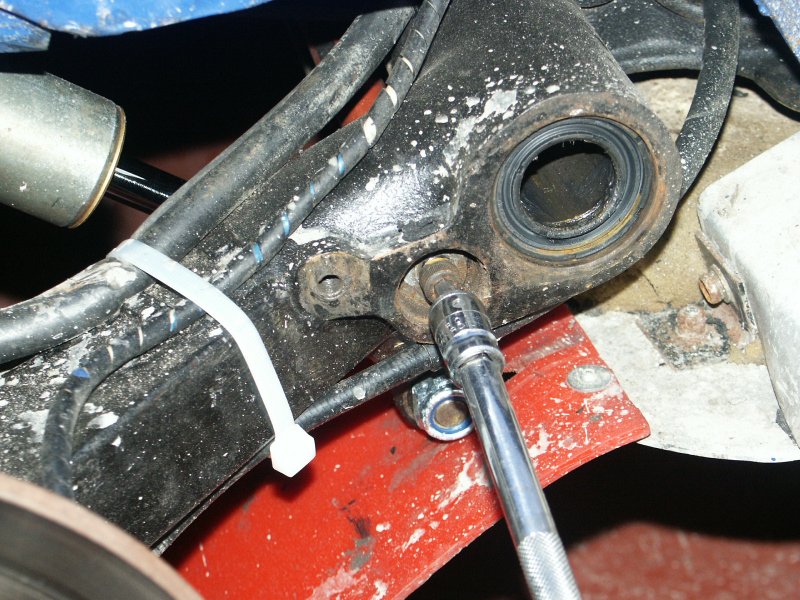
Undo the bolt that holds
the torsion bar in. Again on our car the standard Torx bolts have been replaced
with hex heads. Mainly because hex heads are bit more robust and stand up
to being undone and done up often, as they are on our car. |
|
|
|
After removing the bolt
you need to remove the washer that holds the tosrion bar in. These are fiddly
little b*ggers and if you think getting them out is awkward just wait until
you try and put them back in later. |
|
 |
|
|
|
 |
As we use a dummy shock
absorber (more later) to set the ride height we remove the shock absorber
completely. If you are simply measuring the ride height and supporting the
suspension arm on a jack you can get away with just undoing the top bolt
and letting the shock absorber hang down on it's remaining bolt. |
|
|
|
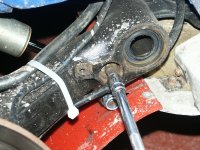
Undo the bolt in the other
end of the torsion bar - You can leave the washer in place. This one is
a bit awkward to get at and we use a short hex (or torx) bit and a 10 mm
spanner to turn it. |
|
 |
|
|
|
 |
|
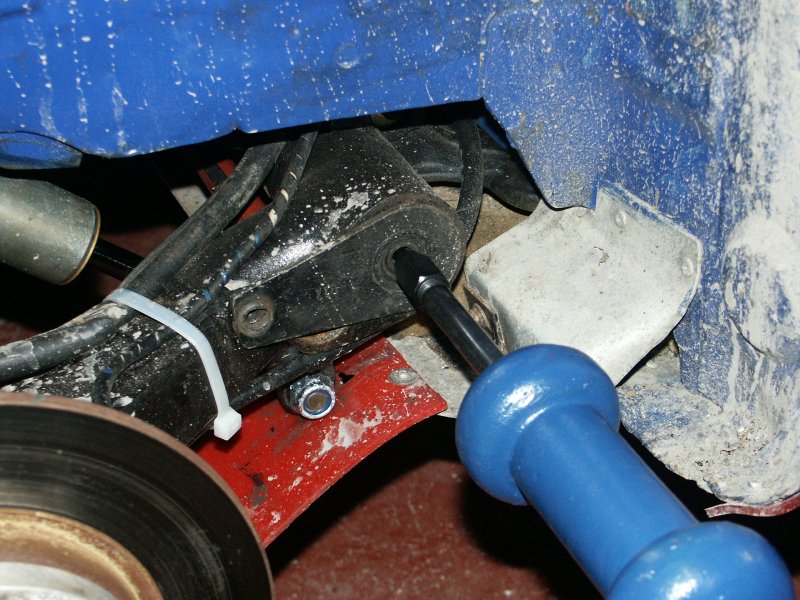
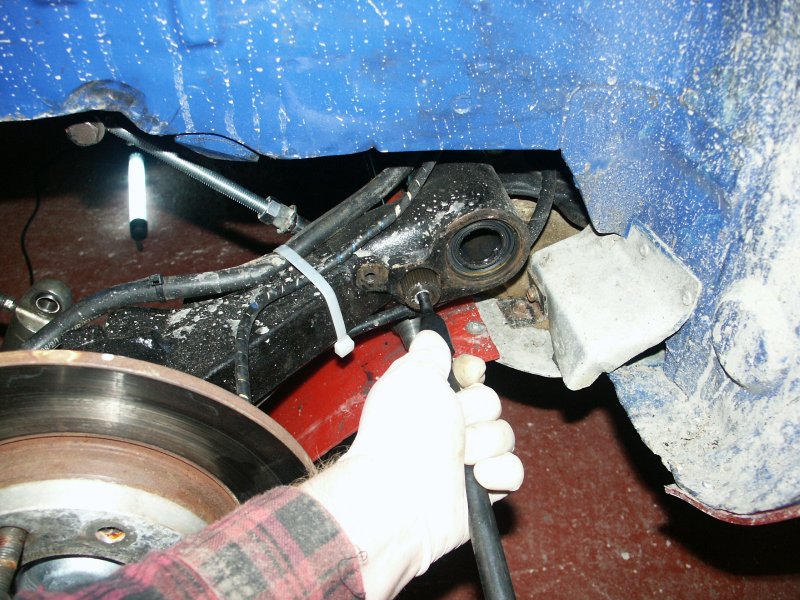
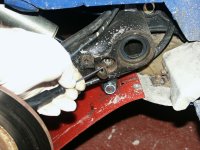
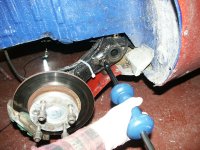
Use the slide hammer (with
8 mm bolt attatchment) to pull the torsion bar out. |
|
|
|
They can be very stubborn
and you need to hit the suspension arm with a hammer at the same time as
pulling with the slide hammer to prevent the torsion bar and suspension
arm coming off together. You don't want to pull the suspension arm off the
beam as this can give you bearing problems later on. |
|
 |
|
|
|
 |
|
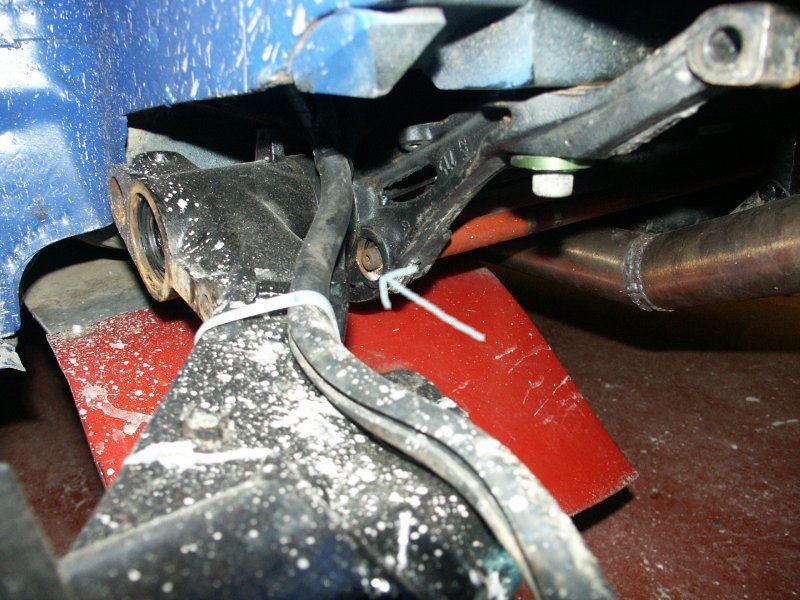
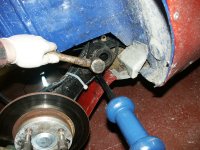
There's no need to remove
the torsion bar completely, this is plenty far enough. |
|
|
|
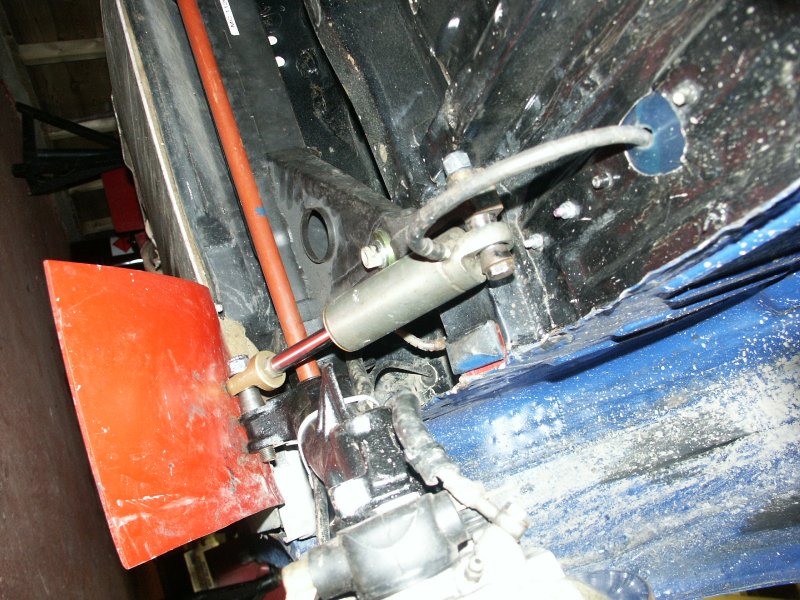
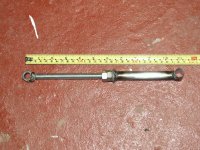
We use a dummy shock absorber
to determine the new ride height. It varies from car to car and does involve
a fair bit of trial and error but on this occasion we changed the dummy
shock absorber length from 292 mm to 289mm to lower the car by (hopefully)
about 10 mm. |
|
|
 |
|
|
|
 |
|
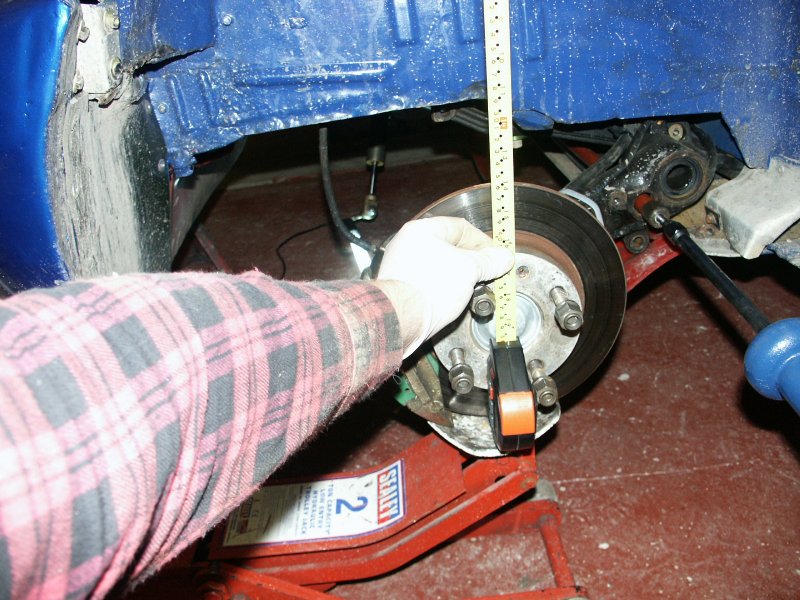
The other way to set the
ride height is to measure the distance from arch to disk before you remove
the torsion bar and the use a jack to hold the suspension arm at this measurement
less the amount you want to lower the car by, plus about 5 mm. If the initial
measurement is 300mm and you want to lower the car by 45 mm, move the suspension
arm on the jack until the arch to disk measuement is 250 mm ( 300 - [45
+5] ). The plus 5mm is because when you remove the jack at the end the suspension
arm will drop slightly as they tension the torsion bars. Again it's not
an exact science and if you get it spot on 1st time, it's as much down to
good luck as good judgement. |
|
|
|
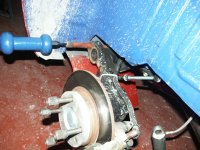
The dummy shock absorber
in use. As long as you don't change it's length from side to side you can
pretty much guarantee that you will get the suspension level - which always
helps. |
|
|
 |
|
|
|
|
|
|
|
|
|
|
|
|
|
|
|
|
 |
|
If you turn the torsion
bar around one spline at a time you will find 1 position where it will go
back in. |
|
|
|
Repeat the process on the
other side |
|
|
 |
|
|
|
 |
|
And reassemble everything. |
|
|
|
Put the anti-roll bar back
in |
|
 |
|
|
|
 |
|
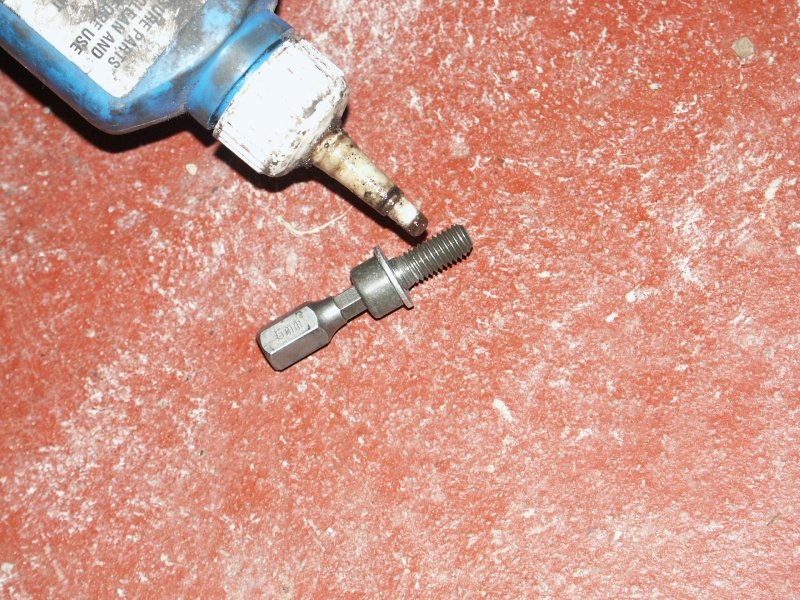
We find that the bolts
holding the rear anti-roll bar plate on tend to come loose, so we use loctite
to prevent this. |
|
|
|
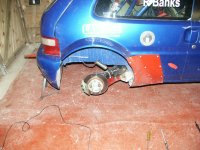
Ready for wheels and
putting back on the ground.
|
|
 |
|
|
|
|
|
|
|
|
|
|
|
|
|
|
|
|
|
|
|
|
|
|
|
|
|
|
|
|
|
|
|
|
|
|
|
|
|
|
|